Create a new scenario
To create a new scenario for a document:
- Click the Manage button
 in the Document tab on the ribbon to open the
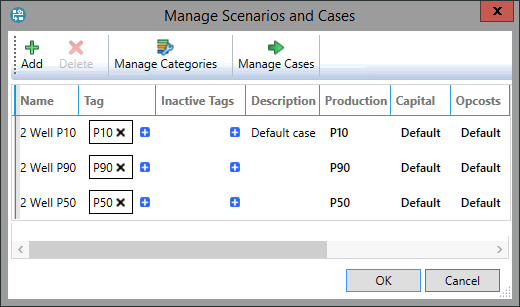
Manage Scenarios and Cases dialog.
 - Click the Add button and a new row will be added to the bottom of the table. By default, it is named 'New Scenario'. To change the name, click in the Name column and enter a new name. Names can be up to 50 characters long and include spaces, numbers and special symbols.
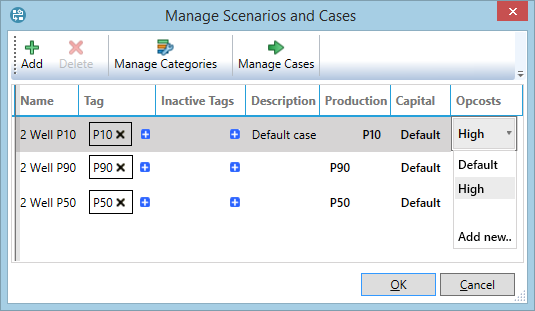
- Click the cells in the categories columns to open the drop-down menus and select the cases which will comprise this scenario. To add a new case, select the Add new option in the drop-down.
- To apply tags to the scenario click the blue '+' button in the Tag column and select the tags from the list. You can add as many tags as needed, but each tag can only be used for one scenario at one time. To remove a tag, click the X button next to the tag name.
- You can enter a text description for the scenario by double-clicking in the cell in the Description column.
- Click OK to close the dialog.


